티스토리 뷰
안녕하세요.
오늘은 작업하다 보면 자주 쓰이는
움직이는 그림을 어떻게 화면에 보이게 하는지 알아봅시다.
일반적으로 움직이는 사진을 그냥 넣으시면 안 움직이시는 걸 종종 보셨을꺼에요.
그래서 우리는 다른 방법을 사용할 겁니다.
당연히 gif 를 움직이게 하는 방법도 있긴 하지만
이 포스트는 Lottie 파일로 하겠습니다.
따라서
pod 'lottie-ios' 를 반드시 추가해주세요(cocoapod)
https://github.com/airbnb/lottie-ios
GitHub - airbnb/lottie-ios: An iOS library to natively render After Effects vector animations
An iOS library to natively render After Effects vector animations - GitHub - airbnb/lottie-ios: An iOS library to natively render After Effects vector animations
github.com
* Lottie 파일이란?
- 여러겹의 사진을 겹친 gif 와 달리 JSON으로 되어있는 움직이는 사진
- 용량이 다른 파일에 비해 비교적 작은 편이라고 한다.
참고로 사용하실 로티 파일은 아래 주소에서 하나 가져오시면 됩니다.
보통은 회사의 디자이너분께 부탁드리면 만들어주십니다.
LottieFiles: Download Free lightweight animations for website & apps.
Effortlessly bring the smallest, free, ready-to-use motion graphics for the web, app, social, and designs. Create, edit, test, collaborate, and ship Lottie animations in no time!
lottiefiles.com
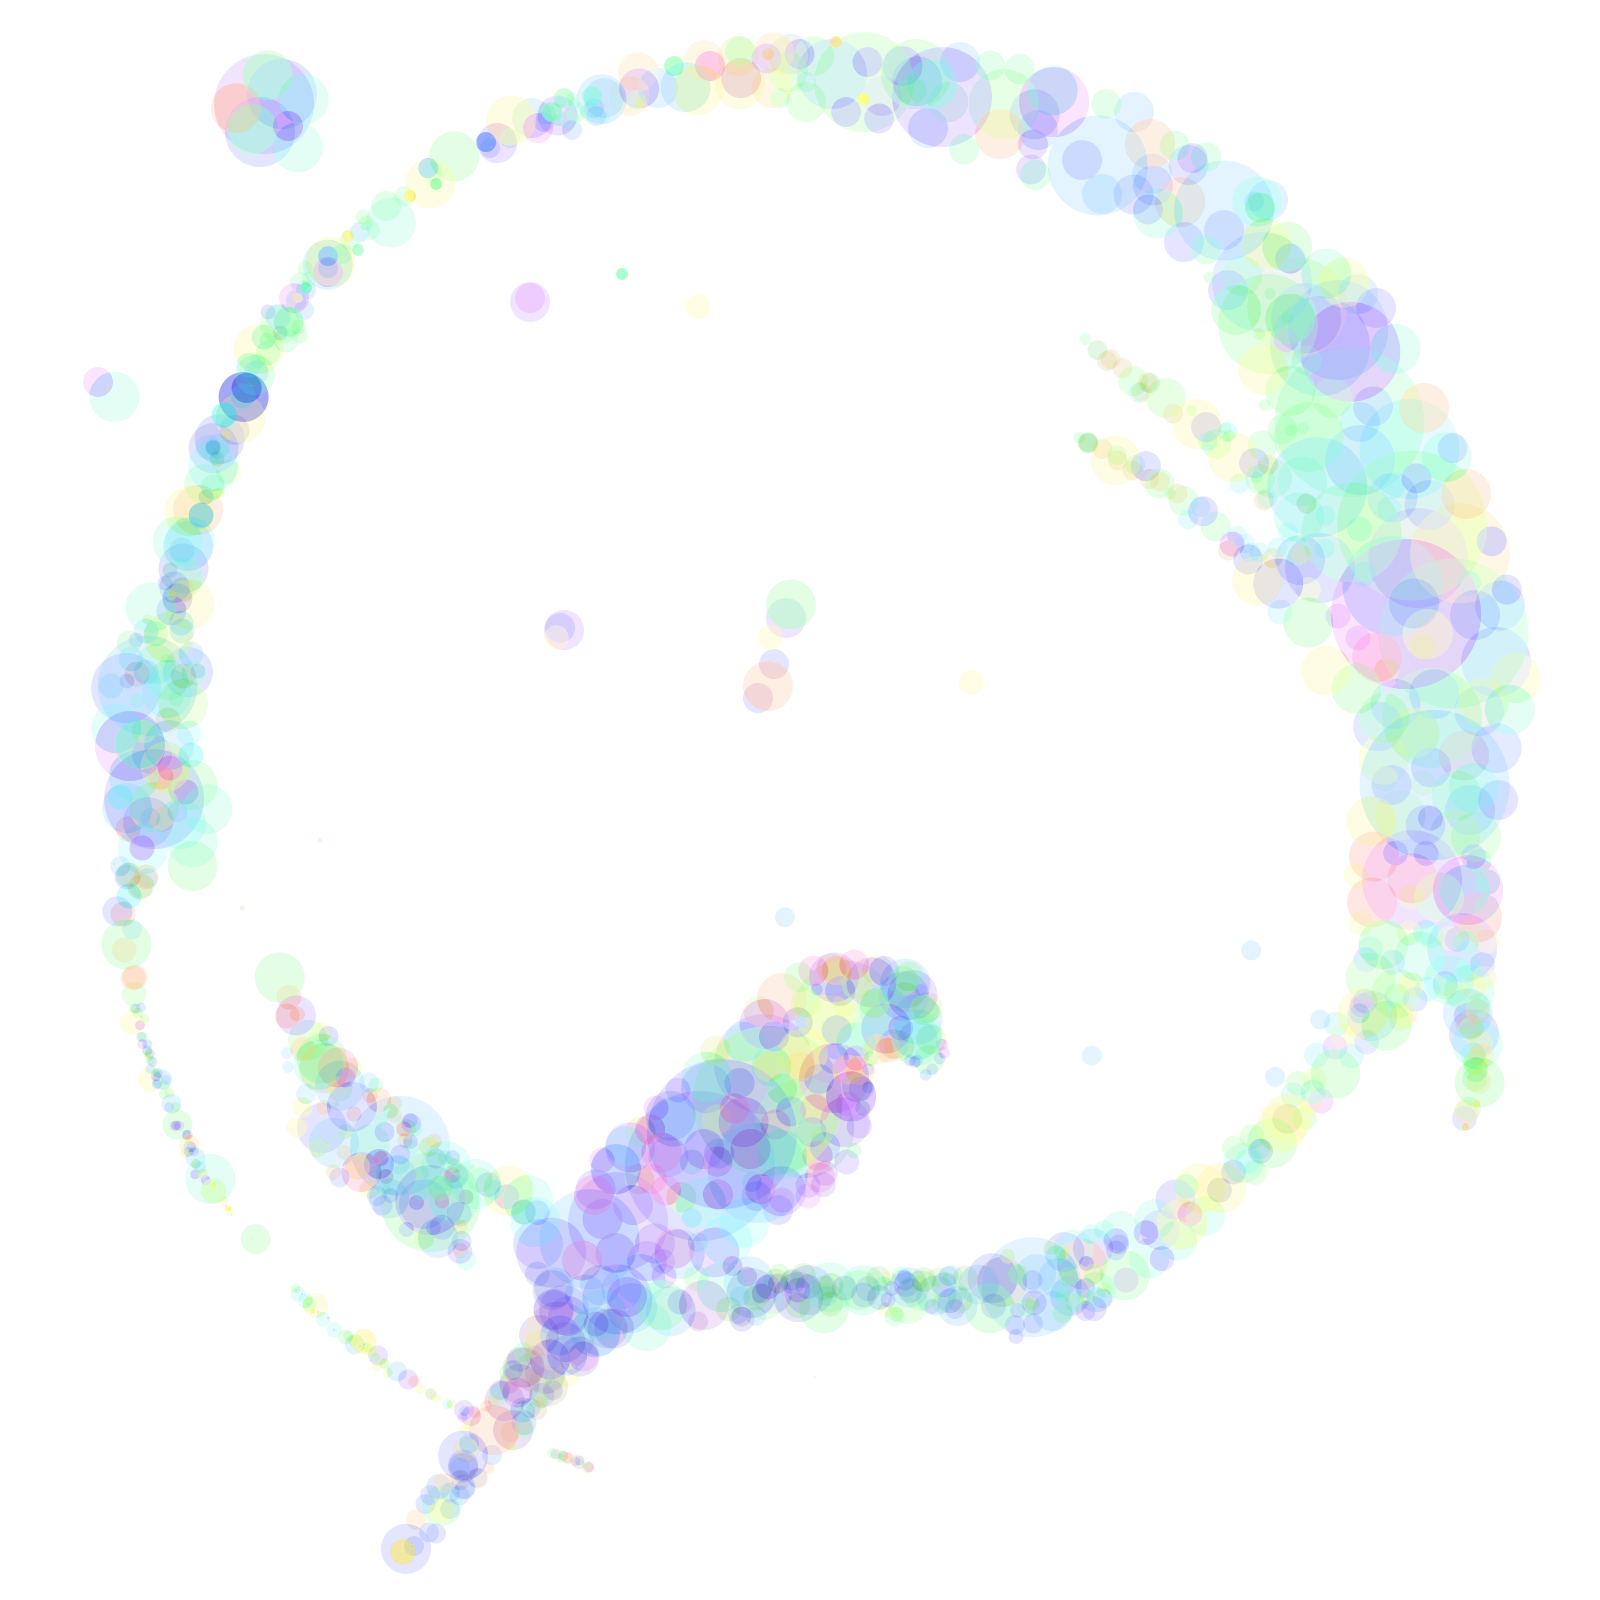
저는 아래의 동그라미들을 이용해보도록 하겠습니다.

일단 화면에 아무 UIView가 있다는 전제하에 하도록 하겠습니다.
import Lottie

@IBOutlet weak var lotiView: UIView!
그럼 잊지말고 연결해 주세요.
func setViewAndGif(showView : UIView , jsonName : String){
        let animationLoti = AnimationView.init(name: jsonName)

        showView.addSubview(animationLoti)
        animationLoti.frame = showView.bounds
        animationLoti.contentMode = .scaleAspectFit

        animationLoti.translatesAutoresizingMaskIntoConstraints = true
        NSLayoutConstraint.activate([
            animationLoti.widthAnchor.constraint(equalTo: showView.widthAnchor),
            animationLoti.heightAnchor.constraint(equalTo: showView.heightAnchor)
        ])

        animationLoti.play()// 애니메이션 시작
        animationLoti.loopMode = .loop // 루프 돌기
        animationLoti.animationSpeed = 1.5 // 재생 속도
        animationLoti.backgroundBehavior = .pauseAndRestore // 화면이 안보이는 상태일때 어떻게 할껀지
    }
override func viewDidLoad() {
super.viewDidLoad()
setViewAndGif(showView: lotiView, jsonName: "파일 이름 넣어주세요")
}이제 이러면 여러분들의 화면에 열심히 움직이는 파일을 확인하실 수 있습니다.

번외
여기까지만 알고 계셔도 사용하시는데 불편함은 없지만
Lottie 파일이 json 파일이다 보니 재밌는 일이 가능합니다.
let animationView = Lottie.AnimationView(name: "Lottie파일이름")
print(animationView.logHierarchyKeypaths())
실제로 이걸하면 아래 값이 나오게 되는데 이걸 활용하면 재밌는 일을 만들 수 있습니다.
Lottie: Logging Animation Keypaths
Shape Layer 1
Shape Layer 1.Transform
Shape Layer 1.Transform.Opacity
Shape Layer 1.Transform.Rotation
Shape Layer 1.Transform.Anchor Point
Shape Layer 1.Transform.Position
Shape Layer 1.Transform.Scale
Shape Layer 1.Ellipse 1
Shape Layer 1.Ellipse 1.Scale
Shape Layer 1.Ellipse 1.Skew
Shape Layer 1.Ellipse 1.Rotation
Shape Layer 1.Ellipse 1.Skew Axis
Shape Layer 1.Ellipse 1.Opacity
Shape Layer 1.Ellipse 1.Anchor Point
Shape Layer 1.Ellipse 1.Position
Shape Layer 1.Ellipse 1.Ellipse Path 1
Shape Layer 1.Ellipse 1.Ellipse Path 1.Size
Shape Layer 1.Ellipse 1.Ellipse Path 1.Position
Shape Layer 1.Ellipse 1.Stroke 1
Shape Layer 1.Ellipse 1.Stroke 1.Opacity
Shape Layer 1.Ellipse 1.Stroke 1.Dashes
Shape Layer 1.Ellipse 1.Stroke 1.Dash Phase
Shape Layer 1.Ellipse 1.Stroke 1.Color
Shape Layer 1.Ellipse 1.Stroke 1.Stroke Width
Shape Layer 1.Ellipse 1.Fill 1
Shape Layer 1.Ellipse 1.Fill 1.Opacity
Shape Layer 1.Ellipse 1.Fill 1.Color
Shape Layer 1.Ellipse 1.Transform
Shape Layer 1.Ellipse 1.Transform.Scale
Shape Layer 1.Ellipse 1.Transform.Skew
Shape Layer 1.Ellipse 1.Transform.Rotation
Shape Layer 1.Ellipse 1.Transform.Skew Axis
Shape Layer 1.Ellipse 1.Transform.Opacity
Shape Layer 1.Ellipse 1.Transform.Anchor Point
Shape Layer 1.Ellipse 1.Transform.Position
Shape Layer 2
Shape Layer 2.Transform
Shape Layer 2.Transform.Position
Shape Layer 2.Transform.Opacity
Shape Layer 2.Transform.Scale
Shape Layer 2.Transform.Anchor Point
Shape Layer 2.Transform.Rotation
Shape Layer 2.Ellipse 1
Shape Layer 2.Ellipse 1.Position
Shape Layer 2.Ellipse 1.Skew
Shape Layer 2.Ellipse 1.Rotation
Shape Layer 2.Ellipse 1.Skew Axis
Shape Layer 2.Ellipse 1.Anchor Point
Shape Layer 2.Ellipse 1.Scale
Shape Layer 2.Ellipse 1.Opacity
Shape Layer 2.Ellipse 1.Ellipse Path 1
Shape Layer 2.Ellipse 1.Ellipse Path 1.Size
Shape Layer 2.Ellipse 1.Ellipse Path 1.Position
Shape Layer 2.Ellipse 1.Stroke 1
Shape Layer 2.Ellipse 1.Stroke 1.Stroke Width
Shape Layer 2.Ellipse 1.Stroke 1.Dash Phase
Shape Layer 2.Ellipse 1.Stroke 1.Color
Shape Layer 2.Ellipse 1.Stroke 1.Dashes
Shape Layer 2.Ellipse 1.Stroke 1.Opacity
Shape Layer 2.Ellipse 1.Fill 1
Shape Layer 2.Ellipse 1.Fill 1.Opacity
Shape Layer 2.Ellipse 1.Fill 1.Color
Shape Layer 2.Ellipse 1.Transform
Shape Layer 2.Ellipse 1.Transform.Position
Shape Layer 2.Ellipse 1.Transform.Skew
Shape Layer 2.Ellipse 1.Transform.Rotation
Shape Layer 2.Ellipse 1.Transform.Skew Axis
Shape Layer 2.Ellipse 1.Transform.Anchor Point
Shape Layer 2.Ellipse 1.Transform.Scale
Shape Layer 2.Ellipse 1.Transform.Opacity
Shape Layer 3
Shape Layer 3.Transform
Shape Layer 3.Transform.Rotation
Shape Layer 3.Transform.Position
Shape Layer 3.Transform.Opacity
Shape Layer 3.Transform.Anchor Point
Shape Layer 3.Transform.Scale
Shape Layer 3.Ellipse 1
Shape Layer 3.Ellipse 1.Skew Axis
Shape Layer 3.Ellipse 1.Rotation
Shape Layer 3.Ellipse 1.Scale
Shape Layer 3.Ellipse 1.Anchor Point
Shape Layer 3.Ellipse 1.Skew
Shape Layer 3.Ellipse 1.Position
Shape Layer 3.Ellipse 1.Opacity
Shape Layer 3.Ellipse 1.Ellipse Path 1
Shape Layer 3.Ellipse 1.Ellipse Path 1.Position
Shape Layer 3.Ellipse 1.Ellipse Path 1.Size
Shape Layer 3.Ellipse 1.Stroke 1
Shape Layer 3.Ellipse 1.Stroke 1.Opacity
Shape Layer 3.Ellipse 1.Stroke 1.Color
Shape Layer 3.Ellipse 1.Stroke 1.Dash Phase
Shape Layer 3.Ellipse 1.Stroke 1.Stroke Width
Shape Layer 3.Ellipse 1.Stroke 1.Dashes
Shape Layer 3.Ellipse 1.Fill 1
Shape Layer 3.Ellipse 1.Fill 1.Opacity
Shape Layer 3.Ellipse 1.Fill 1.Color
Shape Layer 3.Ellipse 1.Transform
Shape Layer 3.Ellipse 1.Transform.Skew Axis
Shape Layer 3.Ellipse 1.Transform.Rotation
Shape Layer 3.Ellipse 1.Transform.Scale
Shape Layer 3.Ellipse 1.Transform.Anchor Point
Shape Layer 3.Ellipse 1.Transform.Skew
Shape Layer 3.Ellipse 1.Transform.Position
Shape Layer 3.Ellipse 1.Transform.Opacity
Shape Layer 4
Shape Layer 4.Transform
Shape Layer 4.Transform.Rotation
Shape Layer 4.Transform.Opacity
Shape Layer 4.Transform.Scale
Shape Layer 4.Transform.Position
Shape Layer 4.Transform.Anchor Point
Shape Layer 4.Ellipse 1
Shape Layer 4.Ellipse 1.Rotation
Shape Layer 4.Ellipse 1.Opacity
Shape Layer 4.Ellipse 1.Anchor Point
Shape Layer 4.Ellipse 1.Position
Shape Layer 4.Ellipse 1.Scale
Shape Layer 4.Ellipse 1.Skew Axis
Shape Layer 4.Ellipse 1.Skew
Shape Layer 4.Ellipse 1.Ellipse Path 1
Shape Layer 4.Ellipse 1.Ellipse Path 1.Position
Shape Layer 4.Ellipse 1.Ellipse Path 1.Size
Shape Layer 4.Ellipse 1.Stroke 1
Shape Layer 4.Ellipse 1.Stroke 1.Stroke Width
Shape Layer 4.Ellipse 1.Stroke 1.Opacity
Shape Layer 4.Ellipse 1.Stroke 1.Dash Phase
Shape Layer 4.Ellipse 1.Stroke 1.Dashes
Shape Layer 4.Ellipse 1.Stroke 1.Color
Shape Layer 4.Ellipse 1.Fill 1
Shape Layer 4.Ellipse 1.Fill 1.Opacity
Shape Layer 4.Ellipse 1.Fill 1.Color
Shape Layer 4.Ellipse 1.Transform
Shape Layer 4.Ellipse 1.Transform.Rotation
Shape Layer 4.Ellipse 1.Transform.Opacity
Shape Layer 4.Ellipse 1.Transform.Anchor Point
Shape Layer 4.Ellipse 1.Transform.Position
Shape Layer 4.Ellipse 1.Transform.Scale
Shape Layer 4.Ellipse 1.Transform.Skew Axis
Shape Layer 4.Ellipse 1.Transform.Skew
()
func setColorChangeGif(showView : UIView){
let animationView = Lottie.AnimationView(name: "loadingLottie")
print(animationView.logHierarchyKeypaths())
let keypath = AnimationKeypath(keypath: "**.Ellipse 1.Fill 1.Color")
let colorProvider = ColorValueProvider(UIColor.clear.lottieColorValue)
animationView.setValueProvider(colorProvider, keypath: keypath)
// 아래는 이전과 동일
showView.addSubview(animationView)
animationView.frame = showView.bounds
animationView.contentMode = .scaleAspectFit
animationView.translatesAutoresizingMaskIntoConstraints = true
NSLayoutConstraint.activate([
animationView.widthAnchor.constraint(equalTo: showView.widthAnchor),
animationView.heightAnchor.constraint(equalTo: showView.heightAnchor)
])
animationView.play()
animationView.loopMode = .loop
animationView.animationSpeed = 1.5
animationView.backgroundBehavior = .pauseAndRestore
}실제로 위 코드를 넣고 돌려보면 아래처럼 나오게 됩니다.

즉 기존의 파일에서 일부 색상을 임시로 바꾸는게 가능합니다.
위의 경우 투명색으로 바꿔 도넛 모양으로 보이게 만든 겁니다.
(이는 해당 파일이 json 형태라 가능한 부분입니다.)
실제로 자주 쓰이는 부분은 아니지만 알아두는 것도 나쁘지 않을 것 같아서 올려봅니다.
오늘도 파이팅입니다!
'iOS개발 > Swift 기능' 카테고리의 다른 글
| Swift 달력(FSCalendar) 만들기 (0) | 2022.12.07 |
|---|---|
| Swift DropDown 메뉴 만들기 (0) | 2022.12.05 |
| Swift Charts 를 이용해 그래프 그리기 (0) | 2022.11.03 |
| Swift 현재 버전과 앱 스토어 버전 비교/업데이트 하기 (0) | 2022.10.20 |
| Swift CoreMotion 걷기 데이터 가져오기 (걸음수) (0) | 2022.09.30 |